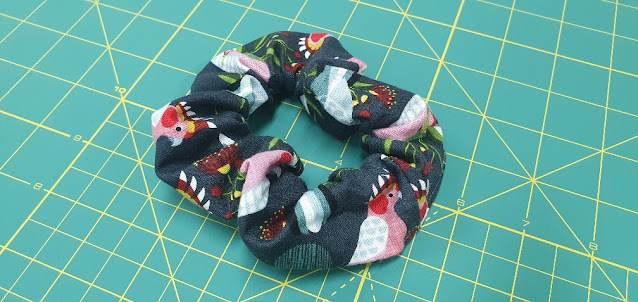
Fabric Scrunchie Tutorial
Fashion trends always repeat and the good old Scrunchie from the 90's has made a massive return. Using scrunchies is also better for your hair than elastic hair bands as they create less friction and breakage on hair.... plus we can make them ourselves in fabric that we love.
We've chosen a super cute Golden Grove Cockatoo fabric available here to make our scrunchie sample. You can use many different types of fabric to create your own one of a kind hair accessory so have fun with different types of textures and colours.
To make one scrunchie, you will need the following:
Fabric piece measuring 4" x 18"
Elastic 8"-9" (8" for finer hair 9" for thicker hair)
Thread that will match the colour of the fabric
Sewing machine, pins and scissors
Bodkin (optional)
Fold your fabric piece right sides together along the long edge. Measure in from both ends approx. 1" and pin (if you use red headed pins it will make it easier to know when to start and stop). Pin in-between the red headed pins using different coloured pins to keep the raw edges together.
Now at your sewing machine, align the side of the presser foot with the raw edges of the fabric and start sewing at the first red pin ensuring you back-stitch to secure. Remember to take the pins out before you sew over them as this can damage your machine and/or break your needle.
Stop at the last red pin and back-stitch to secure.
Turn the fabric tube right side out. This can be a little fiddly so to make this task easier you could use a Loop Turner or a Turn it All tool.
Take the raw fabric edges from both ends of the tube and align these edges with right sides together. You won't be able to align the whole length of the seam, just the start to begin with will be fine.
This step can be a little awkward. Just go slow and just start at the beginning, working the raw edges together as you sew until you get to the end.
Pull on both sides of the joined tube until the seam you have just sewn slips inside.
Keeping one end of the elastic out of the fabric tube, thread the opposite end through, until both ends of the elastic are coming out of the tube coming from each direction. We've used a Clover Bodkin to make this easier or you could use a safety pin.
Overlap the ends of the elastic and sew them together to join. You could also tie a knot with the ends to secure them if you don't want to sew this step.
Insert the elastic inside of the fabric tube and tuck the raw edges of the fabric into the opening.
Edge stitch along the folded edge to enclose the raw seams and to close the opening and....
VOILA!!!
I hope you enjoy making these fabric scrunchies! They really are fun and quick to make and great to teach kids who want to learn how to sew. Please share any that you create with us because we'd love to see them.


Comments
Post a Comment